This method also allows chamber employees the opportunity to populate the guest list with representatives and members by status, group or category. Invitees added using this method will be placed on the Guest List with a status of No Invite Sent and may easily be registered by clicking the + sign in the Status column.
|
1.
|
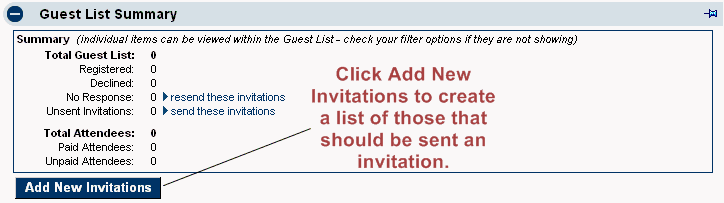
Figure 5-13 Add New Invitations
|
2.
|
Select the attendees that should be added to the guest list using one or more selections available under Add Invitees, Add Members, or Add Representatives. Repeat until your invitee list is complete.
|
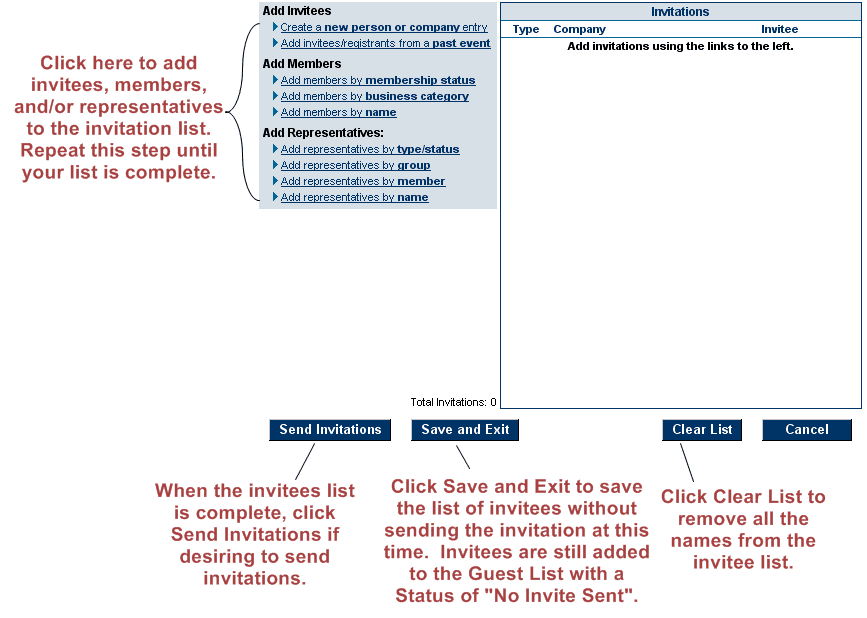
Figure 5-14 Add invitees to list
If desiring to send invitations to this group of invitees, you may click Send Invitations instead of Save & Exit. See “Invitations” above for detailed instructions.
|
3.
|
Click Save & Exit. These invitees will be added to the Guest List with a status of “No Invite Sent”. They may easily be registered by clicking the + sign in the Status column. Additionally, invitations may still be sent at a later time by clicking send these invitations in the Guest List Summary area.
|