|
1.
|
How do I know if I have Microsoft Word 2003? Select About Microsoft Word from the Help menu in your version of Word. This should display your current version of Word.
If you are using Word 2007, on the Mailings tab, click Step by Step Mail Merge Wizard from the Start Mail Merge group. Then continue with step #4.
|
2.
|
Select Letters and Mailings from the Tools menu.
|
|
3.
|
Select Mail Merge . . .
|
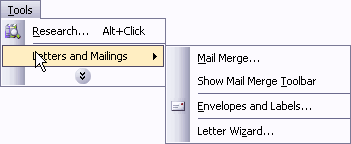
Figure 6-10 Word menus
|
4.
|
Click Labels in the control panel.
|
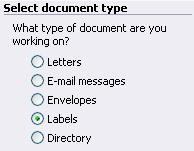
Figure 6-11 Step 1
|
5.
|
|
6.
|
Click Change document layout.
|

Figure 6-12 Select starting document
|
7.
|
|
8.
|
Choose the desired label style and complete the Label Options screen.
|
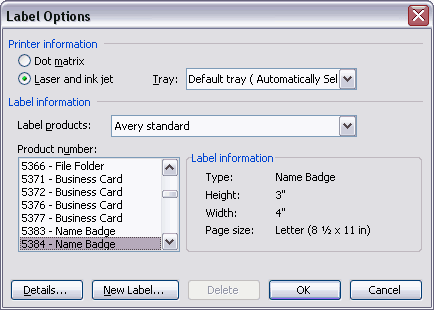
Figure 6-13 Label options screen
|
9.
|
Click OK.
|
|
10.
|
|
11.
|
Click Use existing list.
|
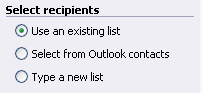
Figure 6-14 Select recipients
|
12.
|
|
13.
|
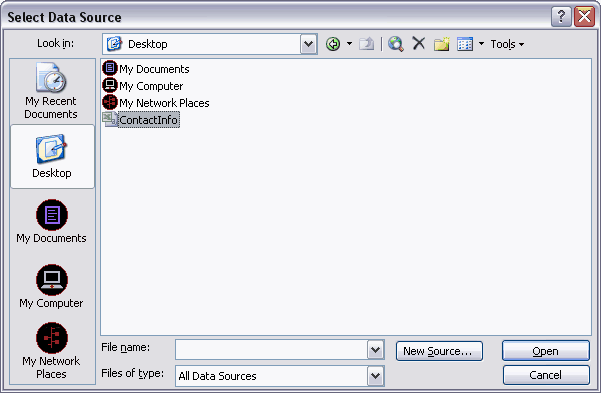
Figure 6-15 Select data file
|
15.
|
Click Open.
|
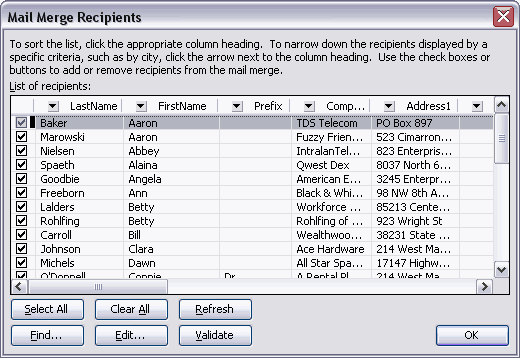
Figure 6-16 Mail Merge Recipients
|
17.
|
|
18.
|
Design the upper left-most label as you desire. Add your graphic at this time! Example: add your graphic using Insert, Picture, From File in the Word menus. Note: this graphic will be repeated on ALL labels.
|
|
19.
|
When you are ready to add the mail merge fields for the representative name and company, click More items . . . in the control panel.
|
|
20.
|
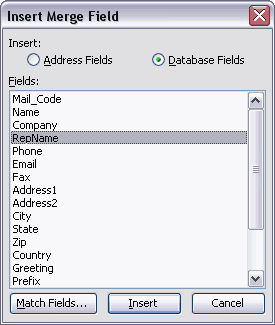
Figure 6-17 Insert Merge Field
|
21.
|
|
23.
|
Click Close.
|
|
24.
|
Format the «RepName»«Company» fields as desired (i.e. font size & style, bold). You may also wish to place each field on it’s own line by pressing Enter between the two field names so it appears as shown below.
|
|
25.
|
|
26.
|
|
27.
|
If the labels look as desired, click Next: Complete the merge.
|
|
28.
|
|
29.
|
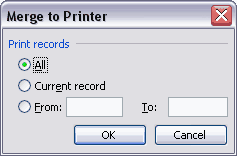
Figure 6-18 Merge to Printer