You may also create event invoices by clicking the Event Invoices tab after selecting the QuickBooks module in the left-hand navigation bar.
|
2.
|
Click the Account tab.
|
If the Create Entries Now button does not appear, there are no transactions to be created at this time.

Figure 3-14 Create Entries Now (QuickBooks example shown)
|
4.
|
Click Create QuickBooks Entries Now.
|
|
5.
|
Make desired changes in the Invoice Options area.
|
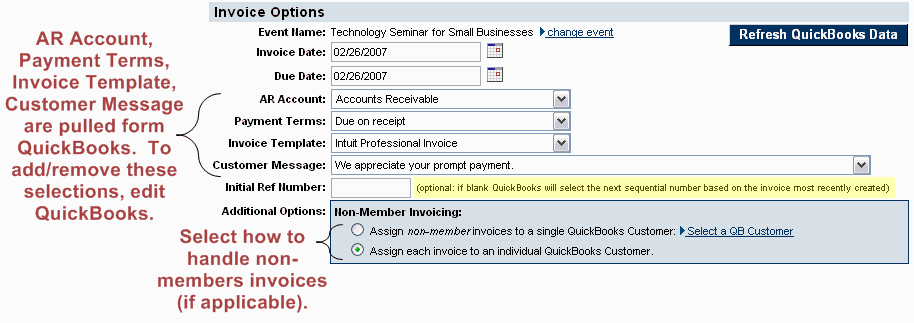
Figure 3-15 Invoice options
|
6.
|
If the Create QuickBooks Entries Now button is not available (dimmed out), you may need to verify your QuickBooks connection. This may be done at the top of the Event Invoices tab or by selecting QuickBooks Connection Settings in the Setup module.
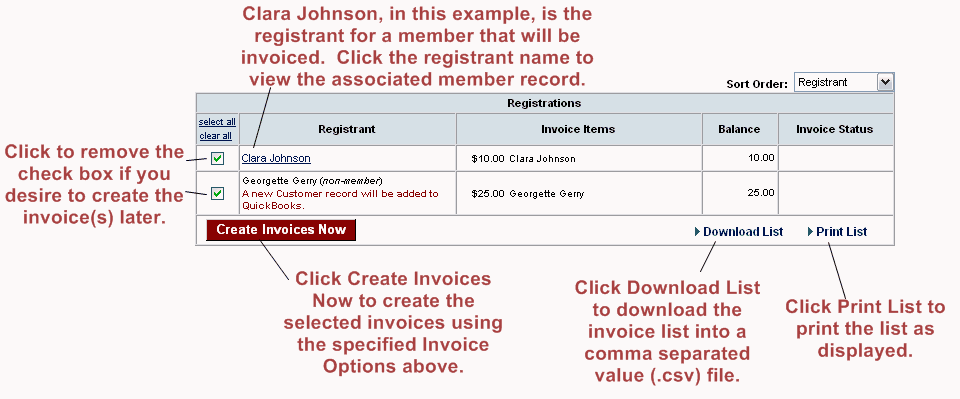
Figure 3-16 Create Invoices
|
7.
|
Invoice creation begins. Click Refresh Status Now to display the current status for completed invoices. When Invoicing Complete appears, click Refresh Status Now to view a complete status list of all invoices.
|
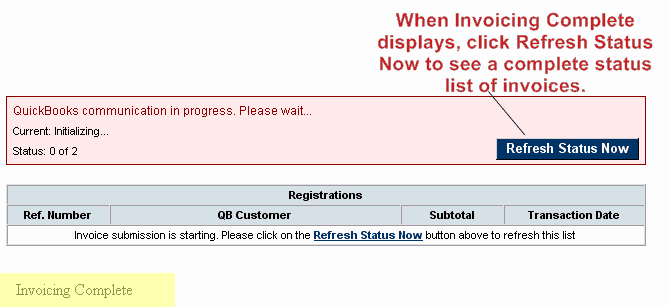
Figure 3-17 Invoice status
|
8.
|
Click Finish.
|
In many versions of QuickBooks you may print the batch of invoices by clicking Invoices. Then click the Print drop-down arrow  . Click Print Batch