Transaction classes give you a way to classify your transactions. You can use classes to classify your income and expenses by department, location, event, or any other meaningful breakdown of the business you do.
|
1.
|
Click Setup in the left-hand menu.
|
|
2.
|
|
3.
|
Click Add New Class.
|
|
4.
|
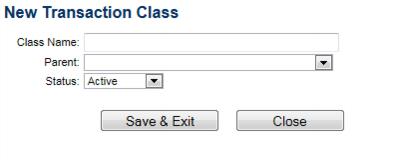
Complete the New Transaction Class fields.
|
|
5.
|
Click Save & Exit.
|
Note: On this form, the Class Name field does not require the Parent field to be completed. Leave the Parent field blank to create all classes at the top level. ChamberMaster supports parent and child classes if desired, though. For example, you could have a Parent of Events and have each event be listed as the Class Name under the parent, Events. To do this, create a Class Name of Events for your first class (with no Parent specified). Then subsequent classes under the Events category should be created with Events listed as the Parent.